How We Install SUN TUNNEL® Skylights to Ensure Your Roof Won't Leak
SUN TUNNEL® Skylights, like skylights, bring natural sunlight to dark areas and rooms around the house. However, unlike skylights, SUN TUNNEL® Skylights do not open for added ventilation. SUN TUNNEL® Skylights channel sunlight from the roof through a highly reflective tubular structure. It delivers light to the area but does not provide the view of the sky nor the additional heat from the summer sun that comes with installing a skylight.
What makes SUN TUNNEL® Skylights more attractive for homeowners is that adding SUN TUNNEL® Skylights costs a fraction of skylights since it is easier to install. It also requires less installation time, usually taking only a few hours from start to finish (for straight forward projects). As with any installations, it is important to ensure all steps are followed to spec to avoid leaking or damages. It is recommended to hire a reputable and experienced roofing company to install the SUN TUNNEL® Skylights. Below are the steps Nailed It Roofing follows when installing SUN TUNNEL® Skylights to prevent leaks.
SUN TUNNEL® Skylights are a quick and cost efficient option to add more natural light into your home
Step 1: Prepare the site where the SUN TUNNEL® Skylights will be installed
We find the location in the attic and hammer a nail to locate the area in the attic and roof. In the room, we use the ceiling ring and trace the outside upper edge of the ceiling ring for where we will cut the hole.
Step 2: Select SUN TUNNEL® Skylights
We work with you to determine which sun tunnel is best suited for you. This is dependent on the light coverage and the location where the sun tunnel will be installed. In addition, there are add-on features that can be included during installation.
Step 3: Cut the roof opening
We cut the hole on your ceiling by using the traced ceiling ring guide from Step 1. Then we insert the ceiling well and secure it in place with the pre-attached fasteners.
Flashing installation around the sun tunnel
Step 4: Flashing Installation
We go up to the roof and locate the nail marker installed from Step 1. We then mark the area where the installation will occur and remove the top half of the shingles. To install the flashing, we position the flashing piece on the roof deck and secure in place with screws. We also ensure that there is overlap on the top flange of the flashing with underlayment to provide proper drainage. This is followed by the installation of the roofing material around the flashing and replacement of the roof shingles.
Step 5: Assemble the SUN TUNNEL® Skylights
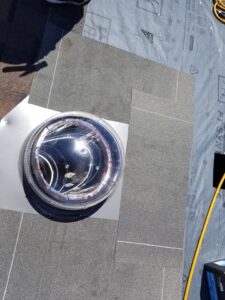
After determining the overall tunnel length required, we assemble the SUN TUNNEL® Skylights accordingly. We will join tunnels to reach the length required. Then we lower the tubular tunnel into the opening to ensure the pitch adapter is at the top. Once the tunnel is in place, we position the dome onto the flashing and secure it.
Step 6: Interior Finishing
From the inside, we secure the tunnel to the ceiling ring assembly with screws and install diffusers and trim rings. We also ensure the insulation in the attic is pushed around the tunnel.
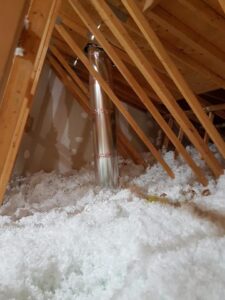
Insulation is distributed around the tunnel
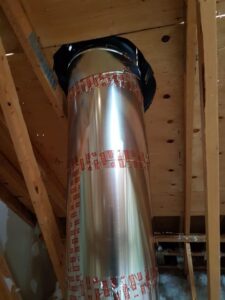
Sun tunnel view from inside the attic
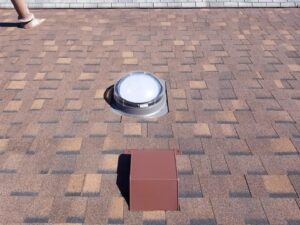
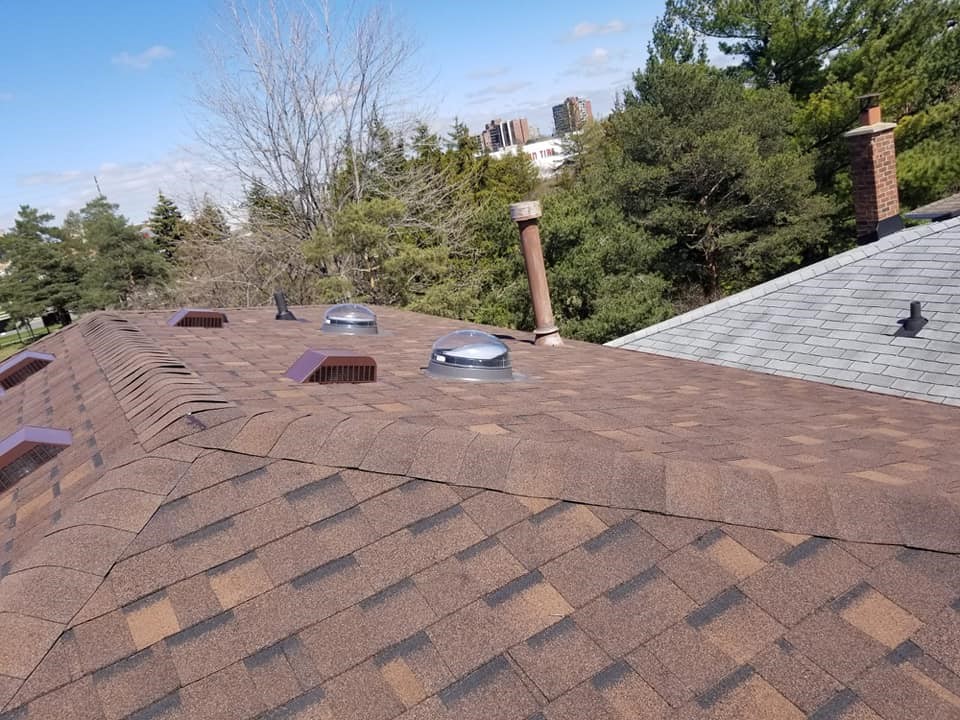
Installed sun tunnel view from the roof
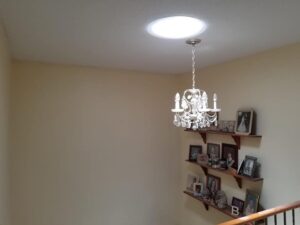
Installed sun tunnel view from the interior
SUN TUNNEL® Skylights are quick and economical to install. Delivering natural light to the darkest rooms can be done in a matter of hours. Nailed It Roofing & Construction is a Velux Certified Installer guaranteeing proper installations. Contact us and we can help you determine which type of sun tunnel will provide the maximum light to the space you want to brighten up.
SUN TUNNEL SKYLIGHTS is a registered trademark owned by VKR Holding A/S
RELATED ARTICLES: